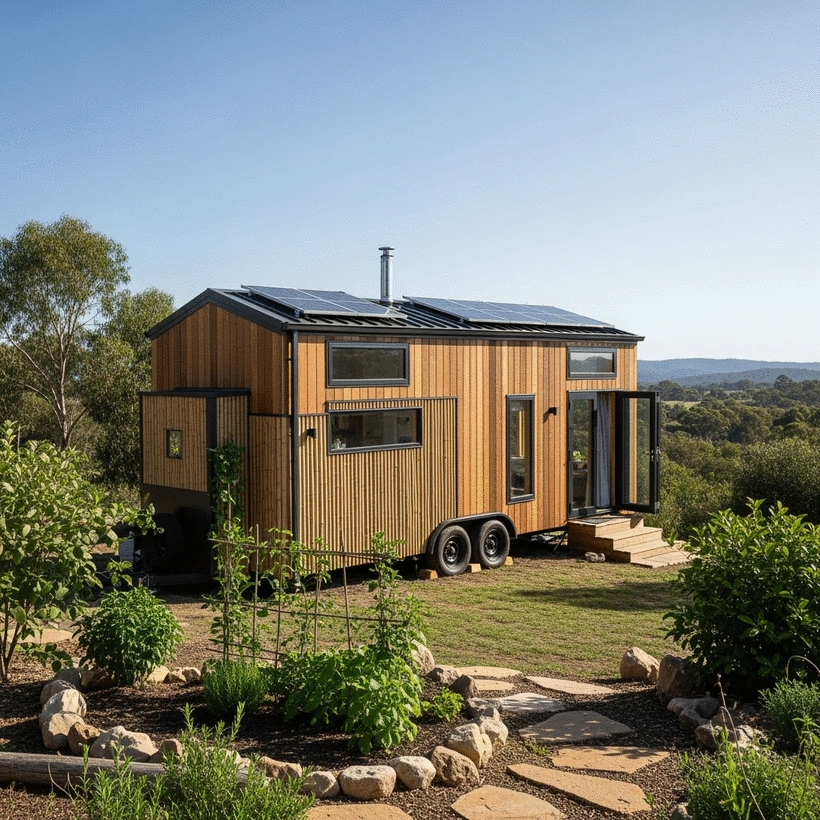
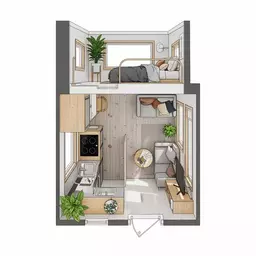
Knockdown and Replace: How to Demolish Your Old Home Before Installing a Tiny Home
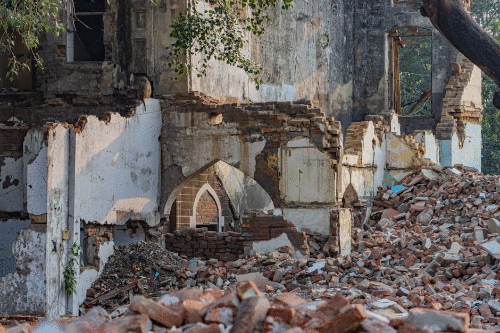
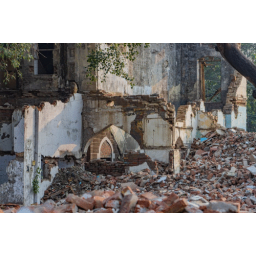
A knockdown and tiny-home replacement starts with careful site preparation. Before house demolition in Melbourne, owners need to confirm permits, services, asbestos risk, access, waste separation, slab removal, drainage, and the exact tiny-home footprint. A smaller future home does not make the demolition stage smaller. It makes the planning more precise.
Start With The Tiny Home Site Plan
Tiny living rewards precision. The future home may be compact, but the block still needs safe access, stable ground, drainage, service connections, and room for installation equipment. Start by marking the preferred location, entry path, parking, outdoor living area, water tanks, and service runs.
The demolition scope should support that plan. A tiny home may use a new slab, screw piles, piers, skids, or another approved foundation system. Each option needs a different ground condition after the old house is removed.
Luxe Tiny Homes readers often value simplicity and low waste. That goal starts before demolition. Salvage usable fittings, recycle clean concrete and metal, and keep green waste separate from building debris so the new compact home begins with a cleaner footprint.
Check Planning, Permits, And Site Rules
A tiny home can still trigger planning, building, service, and siting questions. Rules depend on whether the dwelling is temporary or permanent, whether it is movable, how services connect, and how the local council treats the proposed use.
Demolition has its own approval pathway. In Victoria, demolition work commonly involves a building permit unless an exemption applies, and some sites also need a council report and consent, planning checks, heritage review, or asset protection steps.
Do not book demolition before the replacement pathway is clear. Removing an old home without confirming the next approval can leave the owner paying holding costs on a vacant block while design or siting problems are resolved.
Disconnect Services Before The House Comes Down
Electricity, gas, water, sewer, stormwater, telecommunications, solar equipment, air-conditioning units, and rainwater systems all need review before demolition. Some services are removed. Some are capped. Some may be reused for the tiny home.
The service plan should show which lines remain, where they are capped, and what must be upgraded for the new dwelling. Tiny homes often rely on efficient systems, water tanks, compact hot-water units, greywater planning, or off-grid elements. Those choices affect demolition handover.
Service surprises are common in older Melbourne homes. Look for patched walls, extra meters, old sheds, underground irrigation, septic remnants, redundant pipes, and unmarked stormwater. Photograph what is found so the installer is not guessing later.
Handle Asbestos And Hazardous Materials Early
Many older homes contain asbestos in eaves, wall sheets, wet-area linings, vinyl flooring, fences, sheds, backing boards, or roofing products. WorkSafe Victoria requires asbestos likely to be disturbed by demolition or refurbishment to be identified before work proceeds.
A tiny home project should not rush this step. Asbestos removal needs competent assessment, the right controls, safe transport, and disposal at an appropriate facility. Do not let salvage work, DIY stripping, or early site clearing disturb suspect material.
Other hazards may include lead paint, old chemicals, treated timber, mould, fuel containers, fluorescent tubes, and contaminated soil. These items should be separated from general demolition waste and recorded in the project file.
Decide What To Keep From The Old Home
A knockdown does not have to waste everything. Doors, timber, bricks, pavers, lights, cabinetry, taps, sinks, fencing, and garden materials may be reused if they are safe and removed before destructive work.
Tiny homes benefit from thoughtful reuse because every item must earn its place. A hardwood shelf, salvaged paver path, garden gate, or reused outdoor bench can give the new home character without adding clutter.
Be selective. Items with asbestos risk, water damage, rot, unsafe wiring, or poor fit should not be kept. Salvage should support the new lifestyle rather than recreate the storage burden the owner is trying to leave behind.
Prepare The Ground For Delivery Or Installation
After demolition, the site needs a clean and stable handover. Remove rubble, old footings, broken concrete, metal fragments, tree roots, and waste that could affect foundations or delivery access.
Tiny-home delivery may need a crane, tilt tray, truck, or small plant. Check driveway width, overhead wires, trees, street parking, turning areas, soft ground, slopes, and neighbour access. A compact home can still need a generous delivery path.
Drainage should be settled before the home arrives. Water should fall away from the dwelling, paths should not trap run-off under the floor, and tanks or stormwater connections should be planned before landscaping begins.
Planning Notes For This Audience
For tiny-home readers, demolition should support the move toward a simpler site, not create another layer of clutter. Decide early which items deserve reuse and which materials should leave the block.
A tiny home needs outdoor space to work hard. Keep the demolition plan aligned with future decks, tanks, parking, gardens, storage, and service access. The old house footprint may not be the best footprint for compact living.
If the new home will rely on off-grid or low-energy features, protect the areas needed for solar orientation, battery storage, water tanks, greywater, and maintenance access. These features become harder to place after the home arrives.
The final block should feel calm and deliberate. Remove temporary stockpiles, sharp debris, unstable garden structures, and redundant concrete before delivery so the installation team can focus on placement rather than site rescue.
Records That Should Stay With The Project
A demolition project should leave a paper trail that helps the next trade, owner, adviser, or property manager understand what happened on site. Good records reduce arguments and make later decisions easier.
Keep permits, contractor details, asbestos reports, pest reports where relevant, service disconnection evidence, disposal receipts, recycling records, photos, and handover notes in one folder. Name each file clearly so it can be found months later.
The best photos show conditions before work, during major changes, and after clearance. Capture boundaries, retained trees, driveways, crossovers, slabs, service caps, drainage points, neighbouring structures, and any unexpected discoveries.
If the property will be sold, leased, rebuilt, or used for finance discussions, these records can support due diligence. They also help the next contractor price the job with fewer assumptions.
Budget And Timing Checks Before Approval
Before approving the work, compare the demolition quote against the full project outcome. A low removal price can still cost more later if it excludes permits, slabs, asbestos, pest treatment, service caps, concrete removal, traffic control, or final clean-up.
Timing should be checked the same way. The right start date depends on service disconnections, inspections, neighbour notices, bin availability, access protection, weather, and the next contractor's programme.
Add a contingency for discoveries inside walls, slabs, roofs, gardens, sheds, and buried services. Older Melbourne properties often contain undocumented changes, and those discoveries are cheaper to manage when the team has already allowed time and budget.
The final approval should name what success looks like at handover. That may be a cleared block, a retained driveway, capped services, recyclable material records, a safe pest status, asbestos clearance, or a foundation-ready surface.
If one of those outcomes is not written into the scope, assume it may not be included. Clear wording is cheaper than renegotiating after machinery, bins, inspectors, or installers are already booked.
Confirm the scope in writing before deposits, notices, or delivery dates are locked.
Share the written scope with every adviser and contractor who will rely on the cleared site.
Quick Pre-Start Checklist
Before the first contractor arrives, turn the project into a short checklist with a named owner for each task. The checklist should be reviewed at induction and updated when the work changes stage.
Keep one site contact responsible for updates, because small discoveries can affect access, neighbours, waste handling, services, approvals, equipment choice, health controls, and final handover. Record every change before the next crew starts work.
● Confirm the exact demolition scope, exclusions, and required end condition.
● Check permits, asbestos risk, service isolation, access limits, and neighbour impacts.
● Mark retained trees, services, drains, fences, structures, and no-go zones.
● Separate waste streams early and keep disposal, recycling, and clearance records together.
● Photograph key site conditions before, during, and after the work.
Frequently Asked Questions
Can I demolish an old house and put a tiny home on the same block?
Often it is possible, but approvals depend on local planning rules, dwelling classification, services, siting, access, and whether the tiny home is permanent or movable.
Should the old slab stay for a tiny home?
Only if it suits the approved foundation, drainage, levels, and structural needs. Many projects need partial or full slab removal before installation.
What should be done before tiny home delivery?
Confirm access, ground stability, services, drainage, foundation readiness, crane or truck space, and that demolition debris has been cleared.